Rasterize drawing
Right-click a shape to PNG; effects; crop from background with a shape mask.
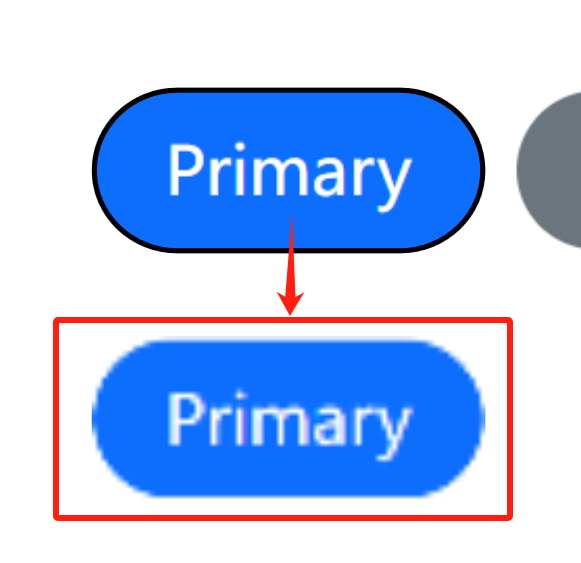
Turn vector shapes (rectangle, rounded rect, ellipse, triangle, arc, line, and so on) into a PNG. Effects bake on the PC; the panel just blits the image.
Place the shape from Place controls, then:
How to rasterize
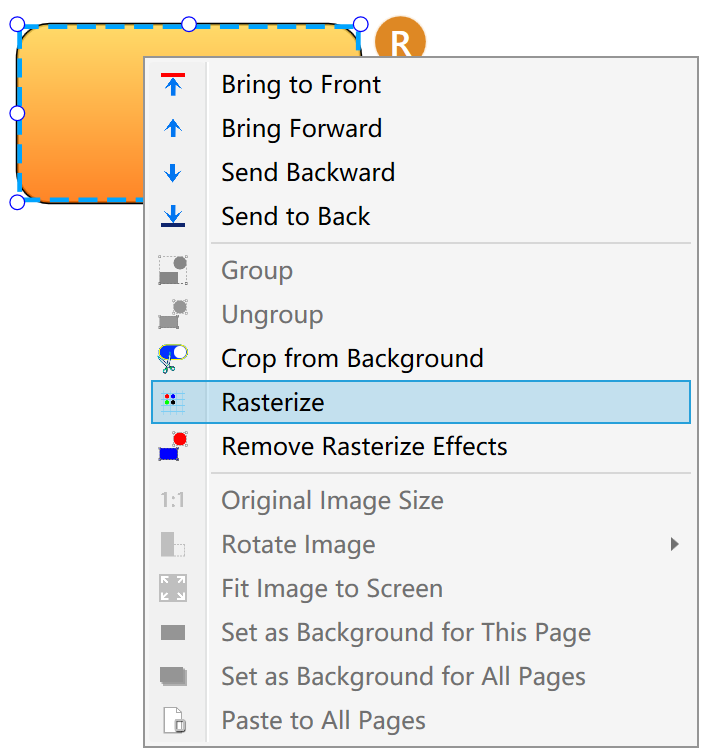
- Select one or more rasterizable shapes.
- Right-click → Rasterize. Output is always PNG (no format dialog).
- The shape becomes an image. Width/height match the PNG pixels. Move it and pack like any picture.
Unfilled outlines composite with whatever is underneath. Filled PNG keeps transparent corners.
Unregistered builds may stamp Power by RUI on wider images.
Rasterize effects
The Rasterize effects row on the property panel (similar to layer styles). Preview and bake share the same path:
| Effect | Role |
|---|---|
| Stroke | Outline |
| Drop shadow | Shadow outside the shape |
| Inner shadow | Shadow inside |
| Gradient overlay | Gradient on the fill |
| Satin | Soft highlight |
| Inner glow | Light from the inside |
| Outer glow | Halo outside |
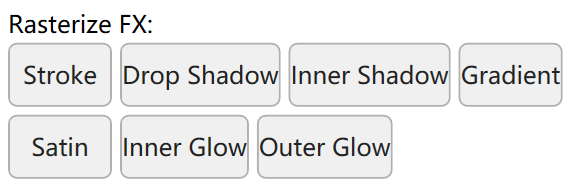
Tune effects, then right-click Rasterize. Effects without rasterize stay preview-only and will not match the panel.
Soft or stepped corners on the device
The canvas is a high-quality preview. Packing re-encodes PNG:
- 16 bpp (usual default): semi-transparent corners and glows can stair-step.
- 24 bpp: closer to preview, larger assets.
If corners still look wrong: set color depth to 24 bpp, then rasterize again → pack → burn.
Crop from background
Use a shape as a mask. Only pixels inside the shape and below it (lower Z) go into a new PNG with transparent edges. The original picture and the shape stay; you get an extra image.
Typical uses: rounded window, circular portrait, irregular cutout over a photo or page fill.
How to crop
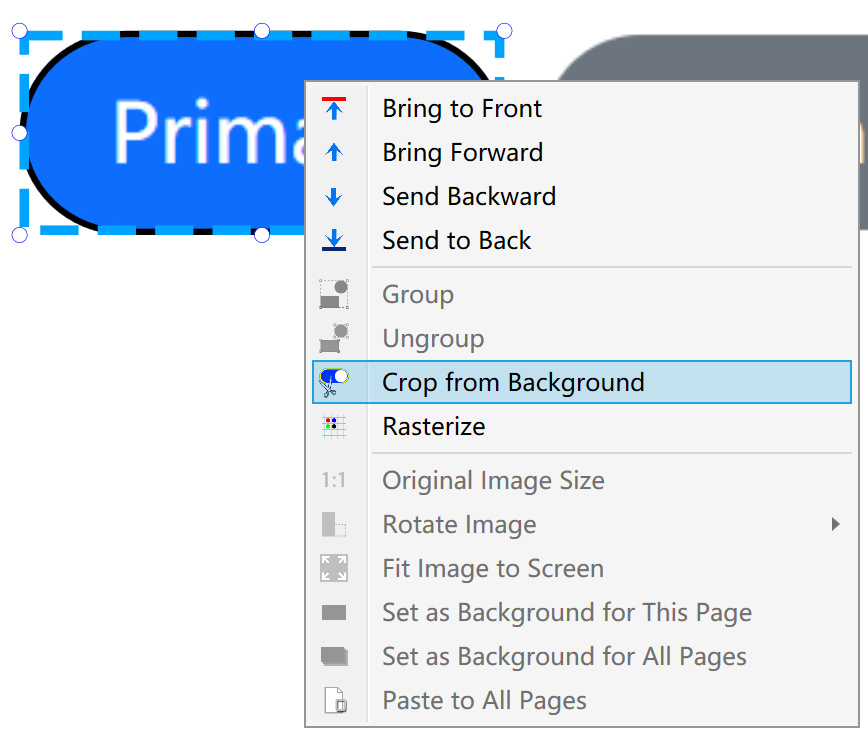
- Place the content underneath (fill canvas, pictures, other elements), then draw the mask on top and align it to the keep region.
- Select the mask: rectangle, rounded rectangle, circle, ellipse, triangle, or arc. A line cannot be a mask.
- Right-click → Crop from Background. The item is disabled if the shape is locked.
- A new PNG appears, aligned to the mask bounds. The history action is Crop bitmap.
- Delete or hide the shape yourself if you no longer need it. Keep or remove the original photo as you like.
Multi-select or a group: the masks are unioned. Only the current page is used, and only items below the lowest Z in the mask set that intersect the union bounds. Fill canvas counts as background. Touch areas and lines are not painted into the crop.
If nothing sits under the shape, you get There is no content below the shape to crop — move the picture under the shape, or bring the shape forward.
Versus Rasterize
| Crop from Background | Rasterize | |
|---|---|---|
| Purpose | Cut the art underneath to the outline | Bake the shape itself (stroke/glow optional) |
| Result | Adds a PNG | Replaces the shape with a PNG |
| Art below | Left as-is | Not a cutout tool |
You can then send the cutout to the Image adjustment lab.